In this article, we will guide you about pearson realize website/software and, how to take a free demo of this application.
It is a very useful and good software for digital learning. There are many subjects and tasks available to do. If you have any doubt or some other thoughts. Then, you can also take the demo class. Which is free of cost to know about this application by yourself.
Type of website: Educational site for digital learning.
Free Demo: Available.
System Requirements: Computer/laptop, Internet, Ms excel, Adobe reader.
Supported Browser: Chrome, Safari, Edge, Firefox.
Supported Operating System: Windows 7 or 10, Mac OS, Android 5.0, Apple iOS.
Alternatives: Schoology.
Website: pearsonrealize.com
Related Topics for Reading
However, In this tutorial guide. We will discuss this website, how to use it as a beginner, set up an account, taking a demo, features, alternatives, etc.
Page Contents
What is Pearson Realize
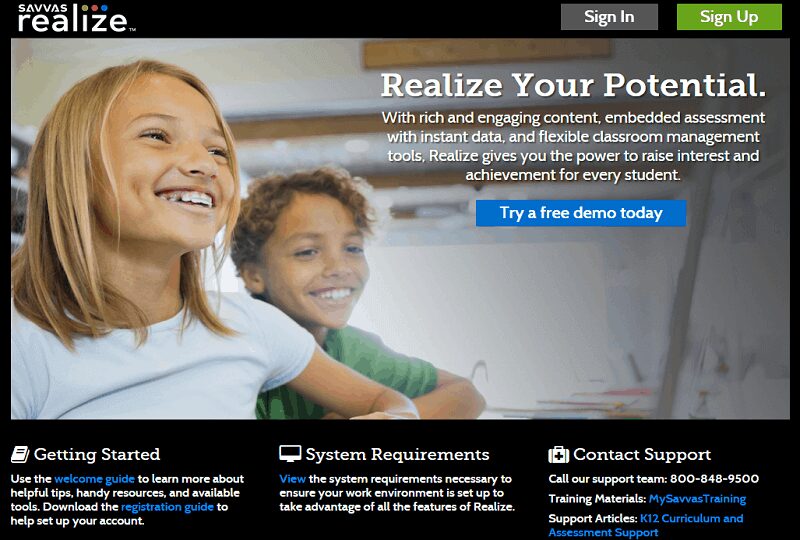
Pearson realize is an online digital learning platform that is available for students, parents, and teachers. It is a part of Pearson education. It provides rich engaging content, embedded assessment with instant data, and flexible classroom management tools.
Students can do their homework and activities. For that, there are many features available such as notebook, highlights, glossaries, and annotations.
How to use Pearson Realize Demo
If you want a demo. You can signup for a free demo account. After that, you can use this website and know it by yourself. If you are satisfied with the service you can further proceed to their plans.
Step 1
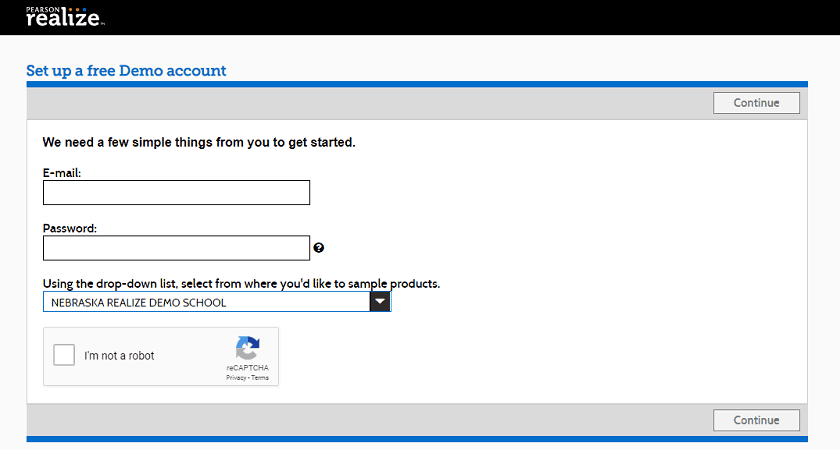
open the website (pearsonrealize.com) and then click on “try a free demo today” option. Now, you have to fill in your email address, set your password, select any one sample product, and then click on continue.
Step 2
You must verify your Demo account using the email address you provided when filling out the form.

Step 3
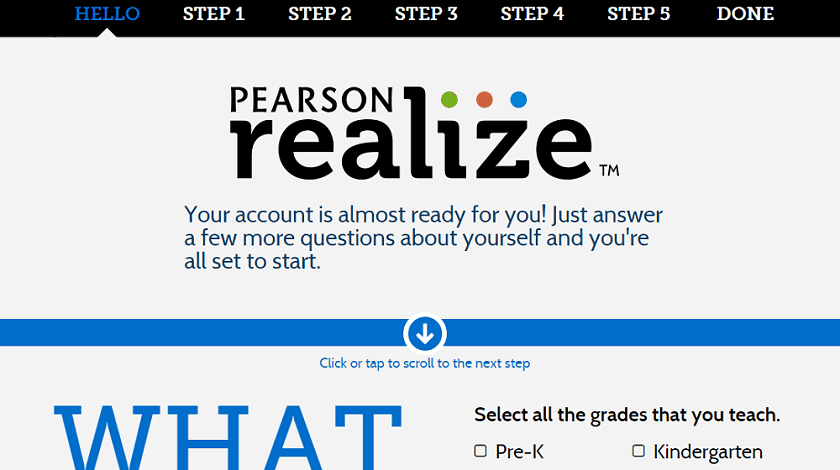
When verification is completed. You have to set up your account.
Step 4
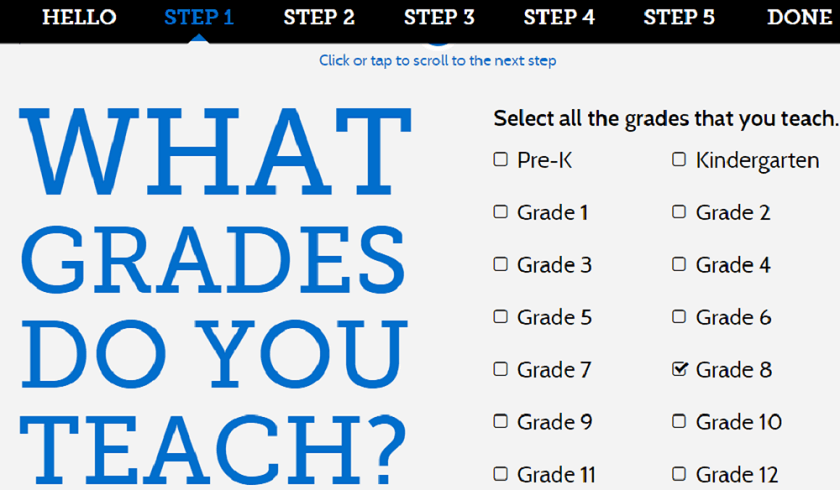
Select all the grades that you teach. I teach only grade 8. So, I have selected grade 8.
Step 5
Select the programs/subjects in which you are specialized. You can select multiple programs according to your choice.

Step 6
Type your name. Your students can see your name on this platform.

Step 7
You can select any icon that will be displayed on your profile. Try to keep it simple. So, I have selected the first image as a display icon. You can choose accordingly.

Step 8
Now, Everything is ready. Click on Let’s go.

Step 9
Your demo dashboard will look like this one in the image. You can connect google classroom for creating synced class rosters and sharing realize assignments directly in students’ feeds.
In the dashboard, you can browse the program, create your classes and add students, track your student’s progress, create assignments, give assignment tasks to the students, track performance on tests, etc. These features really help teachers to manage their students.

Step 10
For browsing teacher resources, you can click on the “browse program”. It will show you all the resources that are available.
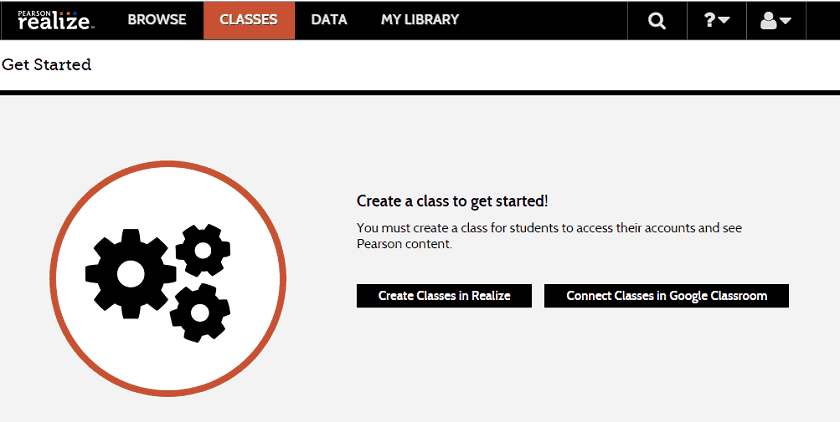
To create classes and to add students. Click on create classes. You can create classes in Pearson realize or connect it to google classroom. You can give any name to your class. The class gives students access to their own accounts.
Pearson Realize Login
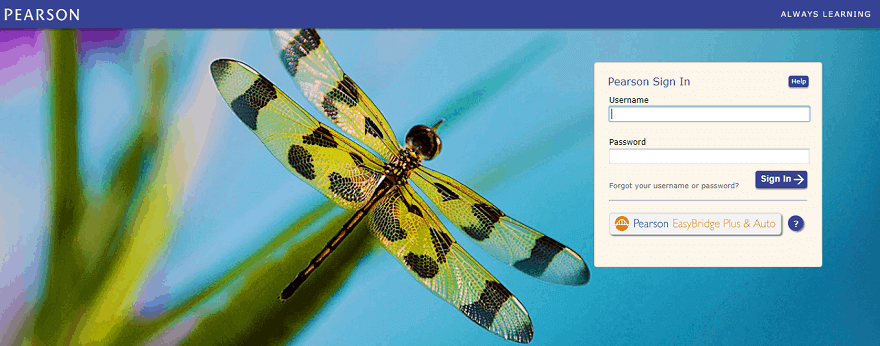
If you are taking a demo then we have already explained all the steps for taking a demo, signup, and log in. But when the demo ends, you can log in by clicking on the sign-in button. Then, enter your username and password.
Alternatives
Recommended Topics:
