by
by 
Yoast SEO is one of the best SEO plugins. In this guide, we will discuss all the important Yoast SEO Settings that can help to give good results in ranking. We are using Yoast SEO on our other websites but on usersadvice we are using Rankmath. Yoast and Rankmath, both are good plugins for SEO but there are a lot of features in Rankmath when compared to Yoast SEO.
Yoast SEO settings – This is part of chapter 5 of our free blogging course. You can do the same settings that we have mentioned in this post just see the images and do all the settings side by side.
Page Contents
About Yoast SEO Plugin
Official website: yoast.com
Yoast SEO is the most popular SEO plugin and it has over 5 million active installations. It was founded in the year 2008. Yoast SEO also provides SEO courses and training on their official website.
Yoast SEO settings are easy to implement and this plugin is easy to use. Yoast SEO is available for free and you can install it on your website. It has also a premium plan which offers more features but we are using the free plan on our other websites.
Features
- It helps you in on-page SEO
- It gives you the SEO score in green, red, and orange color. Green means your on-page SEO is excellent, orange means average, and red means you need to improve and it shows bad on-page SEO for a particular keyword.
- Yoast SEO provides FAQ and How to schema
- XML sitemap
- Breadcumbs
- Readability score in green, red, and orange color that determines how you have written the content and where you need to improve
- and many other features that we are going to discuss in Yoast SEO settings
Yoast SEO Settings
1. Install and activate the plugin.
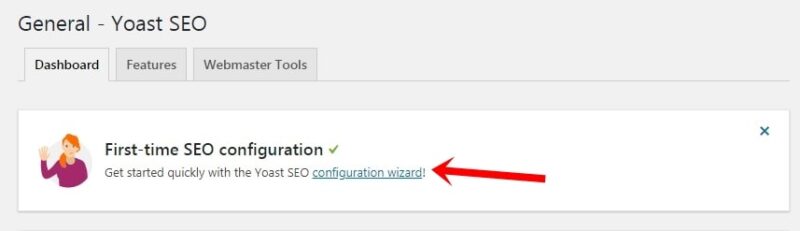
2. Go to installed plugins and then click on Yoast SEO settings. See the image below.

3. Click on the configuration wizard.
4. Now, follow these steps for configuration wizard
- Select option A – My site is live and ready to be indexed and then click on next.
- Now, Choose an option that reflects your blog. If you are making a blog then select a blog, if you are making an online shop using WordPress then select an online shop. Now, click on next.
- Click and choose the organization option, it is best suited because you are starting blogging with the aim of business. In the name of the organization, type the name of your website, and then upload a logo for your website. Now, Scroll down the screen and paste the URL of the social media accounts of your website. Click on next.
- In the search engine visibility select yes for posts and pages and then click on next.
- In the multiple authors, Select Yes if your website has more than one author who publishes the post. If your website has only one author then select No because it can result in duplicate content. Now, click on next.
- Choose a title separator of your choice and then click on next. Now, the setup wizard configuration is completed. Now, let’s see some other important settings.
5. Go to the Yoast general settings and then click on the features. Make sure than everything in the features must be turned on.
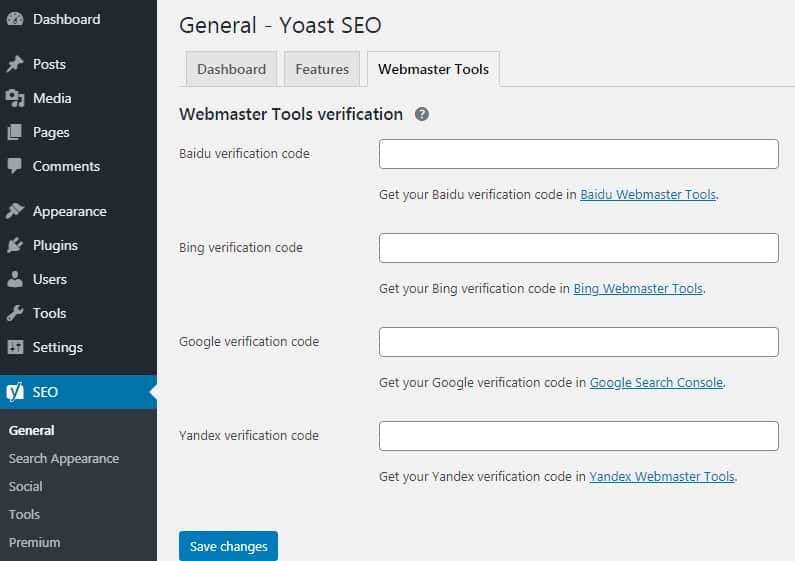
6. Now, click on webmaster tools. Using Yoast webmaster tool verification you can easily verify ownership of your website in Google search console, Bing, and Yandex webmaster. Baidu webmaster works only if you are a resident of China or you have a Chinese phone number to verify yourself.
Click on the blue links that you can see in the image and then verify your website in each webmaster tools. You have to paste a code in the box that you can see in the image and then click on the save changes.
We have discussed how to verify a website in Google search console, Yandex webmaster, and bing webmaster in chapter 6 of our free blogging course. You can read this chapter to see all the step by step instructions.
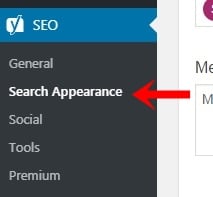
7. Now, click on the search appearance.
8. In general, you can apply the same settings which we have applied to our website. See this image. In the meta description write about your website.
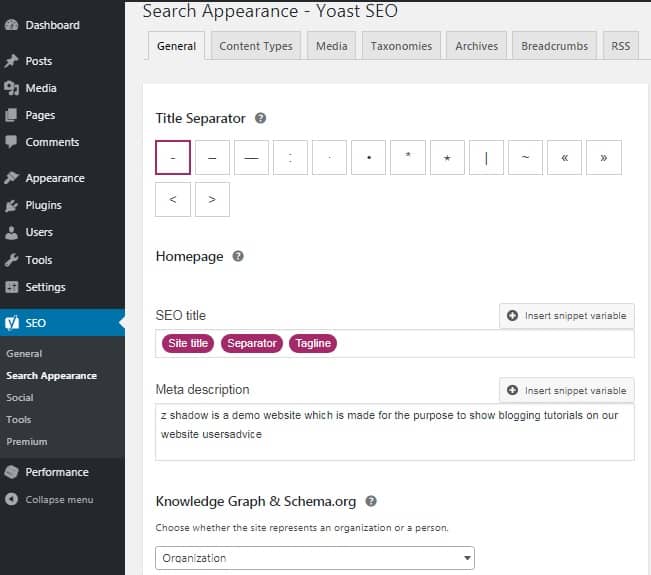
What is a meta description? See this image, this is the meta description of our website usersadvice.

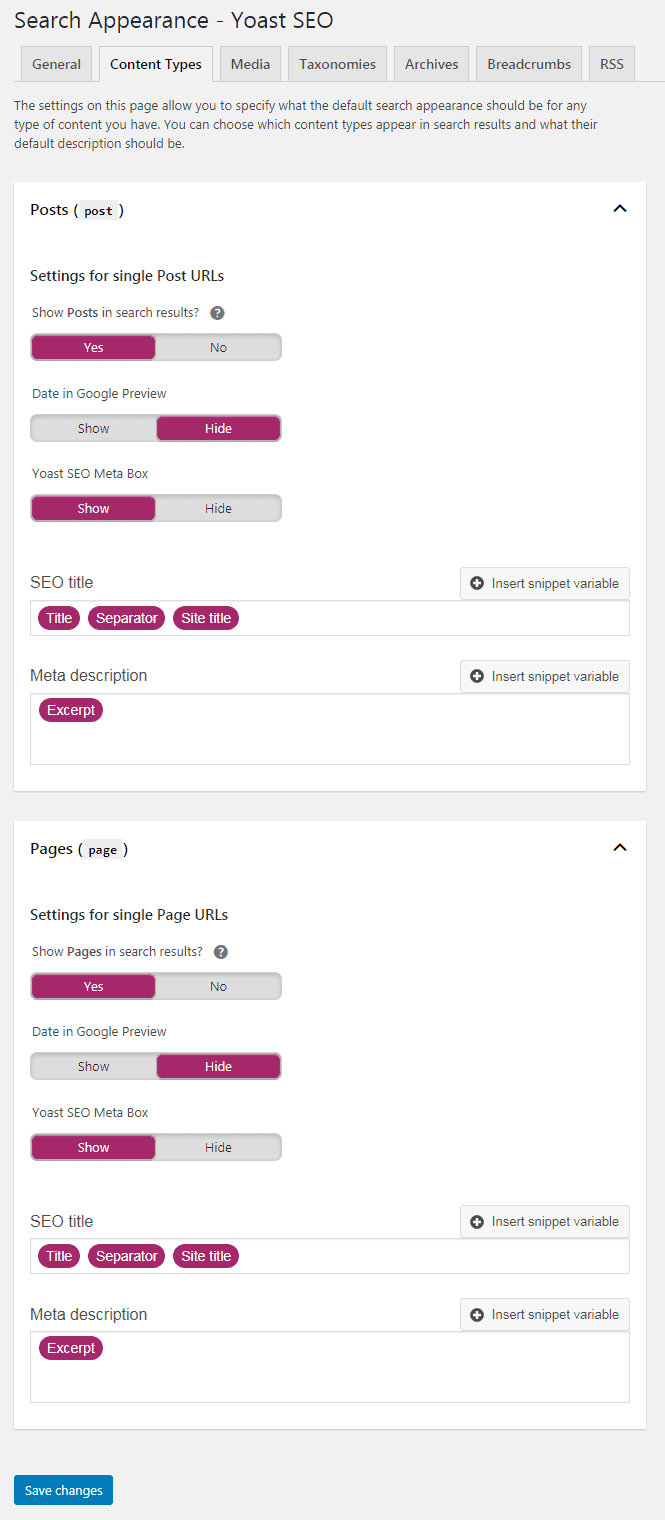
9. Now, click on content types. You can do the same settings which we did for our website. Just see this screenshot below. Then, click on save changes.
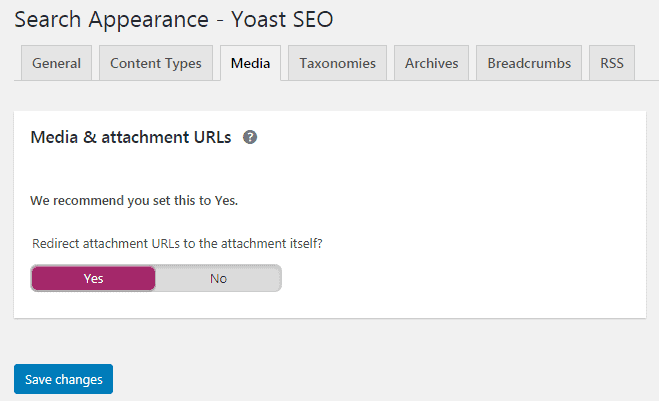
10. Now click on media and set the setting YES for media & attachment URLs. Then click on save changes.
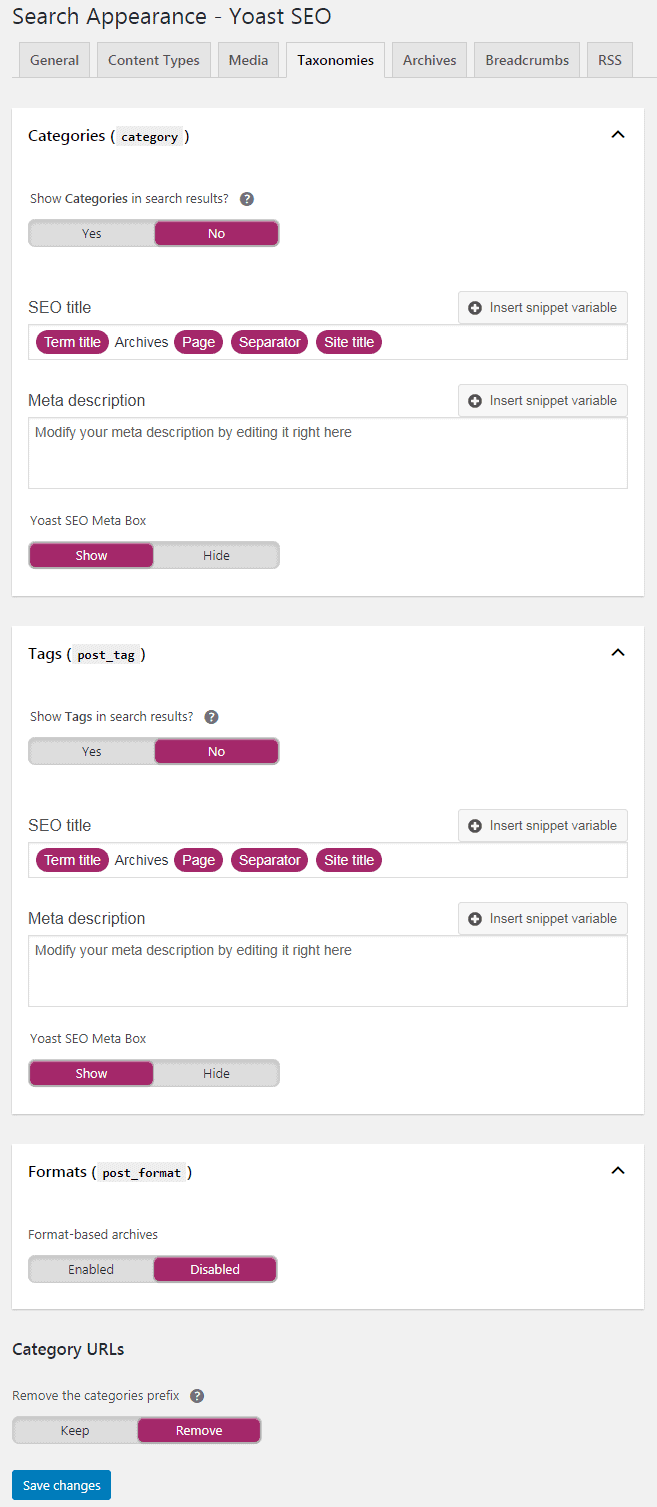
11. Click on Taxonomies, You can do the same settings that we have shown in the image below. We have turned off show categories option but if you want to turn on to YES, then you do this. Nowadays ranking a post is difficult so it’s quite impossible for a category to rank. Therefore we have turned off categories to show in search results on our every website. We also suggest you select No for post_tag and post_format to show in the search results. Now, click on save changes.
You can remove the category prefix for SEO friendly URL structure. If you do not remove this URL then your website will be like this. Example
- example.com/category/on-page-seo (when you keep the category prefix)
- example.com/on-page-seo (when you remove the category prefix)
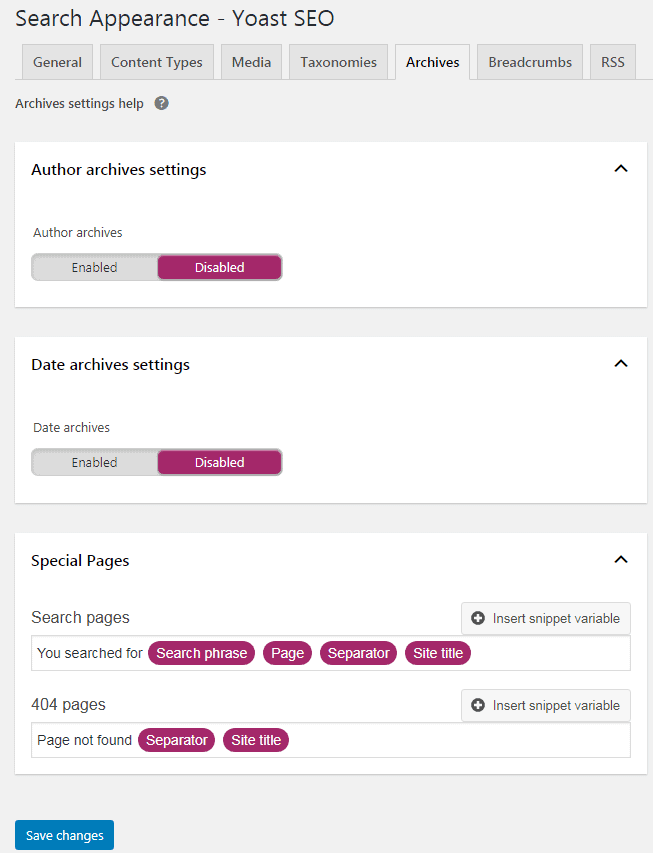
12. Now click on archives, In the author archives settings you should keep it disabled if you have only one author but if you have more than one author on your website then you should enable this option. We suggest you disable date archives.
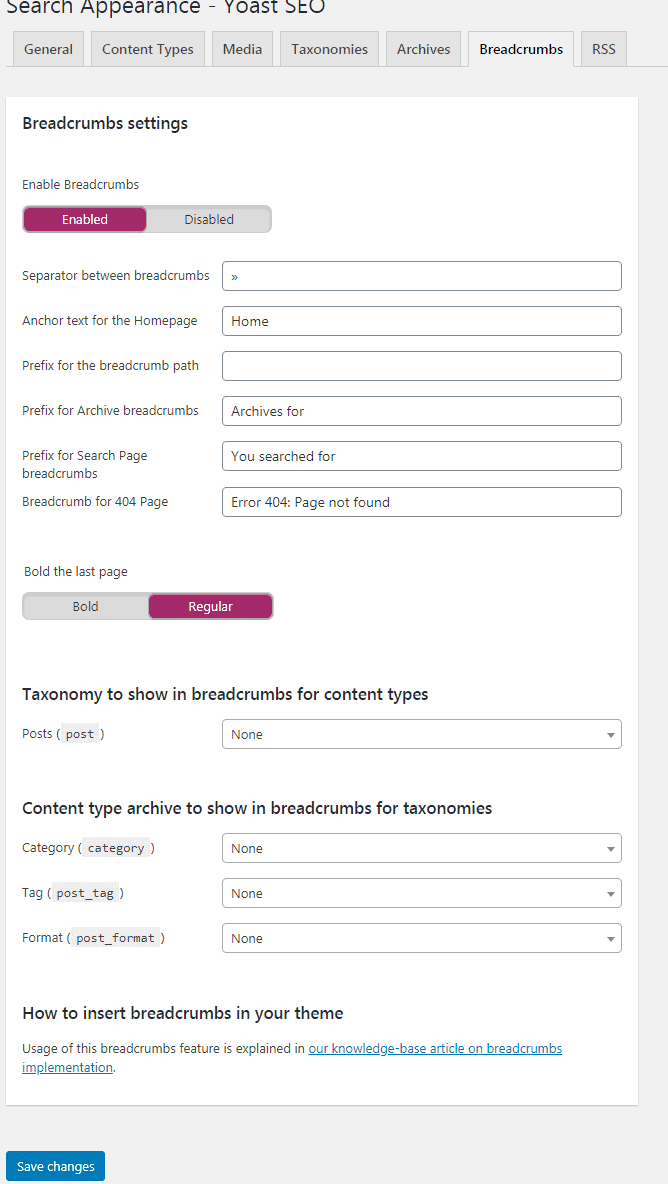
13. You can enable or disable breadcrumbs, it depends on you if you want to display it or not. It is good for SEO as well. If you don’t know what is breadcrumbs then see this image. This is the breadcrumb and the main work of breadcrumb is to show the user location on the website.
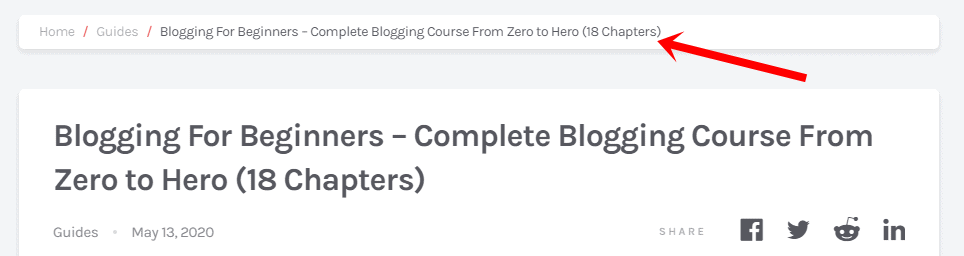
Now, let’s see the setting for breadcrumbs. Click on the save changes to save all these settings.
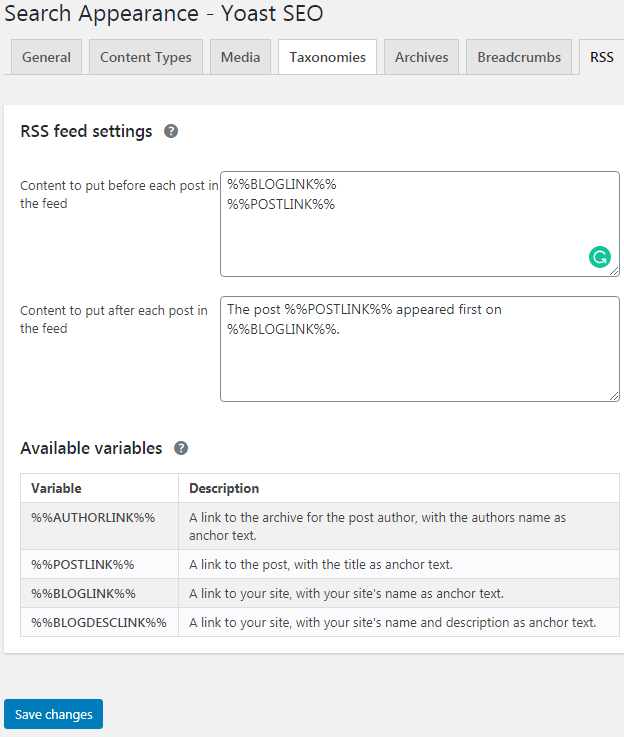
14. Click on RSS. Then do the same settings that we have shown in the image and click on save changes.
Now, we have completed all the important SEO settings. In the social, you have to paste the links of your social media accounts such as Facebook, Twitter, etc. So, you can do these settings by yourself.
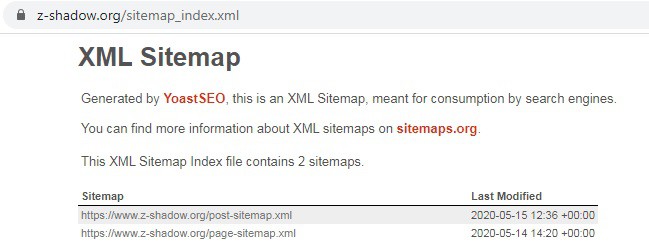
Yoast SEO sitemap
Yoast SEO automatically generates the sitemap for your website you don’t need to do anything. If you want to check the sitemap of your website then you can check it putting the /sitemap_index.xml after your website URL.